The Ultimate 2-Hour Airport Prep Guide
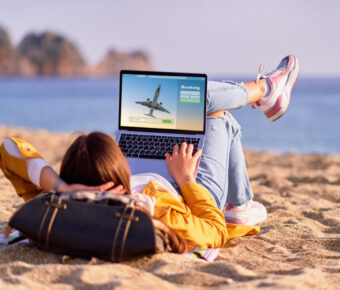
Traveling through airports can be a stressful experience, but it doesn’t have to be. With some smart preparation and insider tips, you can breeze through security, avoid common pitfalls, and start your journey on the right foot.
The key to a stress-free airport experience is arriving early, typically two hours before a short-haul flight and three hours for long-haul trips. This buffer allows for unexpected delays and gives you time to navigate the airport calmly.
Pack strategically by choosing luggage that’s easy to maneuver and organizing your carry-on for quick access to essentials. Consider booking flights during off-peak times, such as midweek, to encounter fewer crowds and shorter lines. With these simple steps, you’ll be well on your way to a smooth and relaxed airport visit.
Contents [show]
Tax-Free Forms

You can file your taxes for free using IRS Free File if your adjusted gross income is $79,000 or less. This service provides access to guided tax software from trusted partners at no cost.
Free File allows you to claim valuable tax credits you may be eligible for, like the Earned Income Tax Credit and Child Tax Credit. It’s an easy way to ensure you receive the full amount of benefits you qualify for.
To use Free File:
- Visit the IRS website
- Review partner offers
- Choose a provider that fits your situation
- Follow the prompts to complete your return
Some Free File options even include a free state tax return. Be sure to check each partner’s specific offerings.
If your income is above $79,000, you can still use Free File Fillable Forms. These are electronic versions of IRS paper forms you can fill out and file yourself at no cost.
AARP Foundation also offers free tax preparation assistance through its Tax-Aide program. Volunteers are available at thousands of locations nationwide from February to April to help with your taxes.
Check-In & Bag Drop

Online check-in is your first step to a stress-free airport experience. Most airlines open this option 24 hours before departure. Take advantage of it to save time at the airport.
If you’ve checked in online and have no bags to drop, head straight to security. For those with luggage, locate the designated bag drop area for your airline.
Arrive at the airport with ample time: 2 hours for domestic flights and 3 hours for international. This buffer allows for unexpected delays.
Haven’t checked in online? Look for self-service kiosks near your airline’s counter. Follow the on-screen prompts to check in and print your boarding pass.
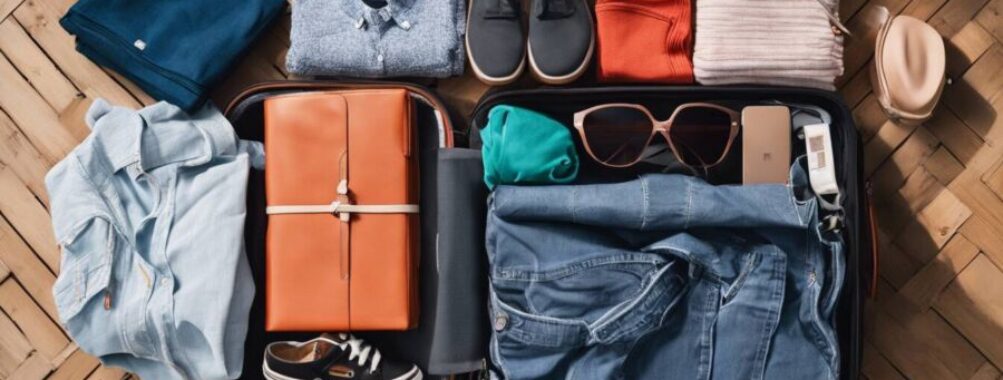
For bag drop, have your ID and boarding pass ready. Weigh your luggage before leaving home to avoid surprises. Remember airline weight limits to prevent extra fees.
At the counter, place your bag on the scale and hand over your documents. The agent will print your luggage tag and direct you to security.
Keep essentials in your carry-on: medication, valuables, and a change of clothes. This precaution helps if your checked bag is delayed.
Passport Control
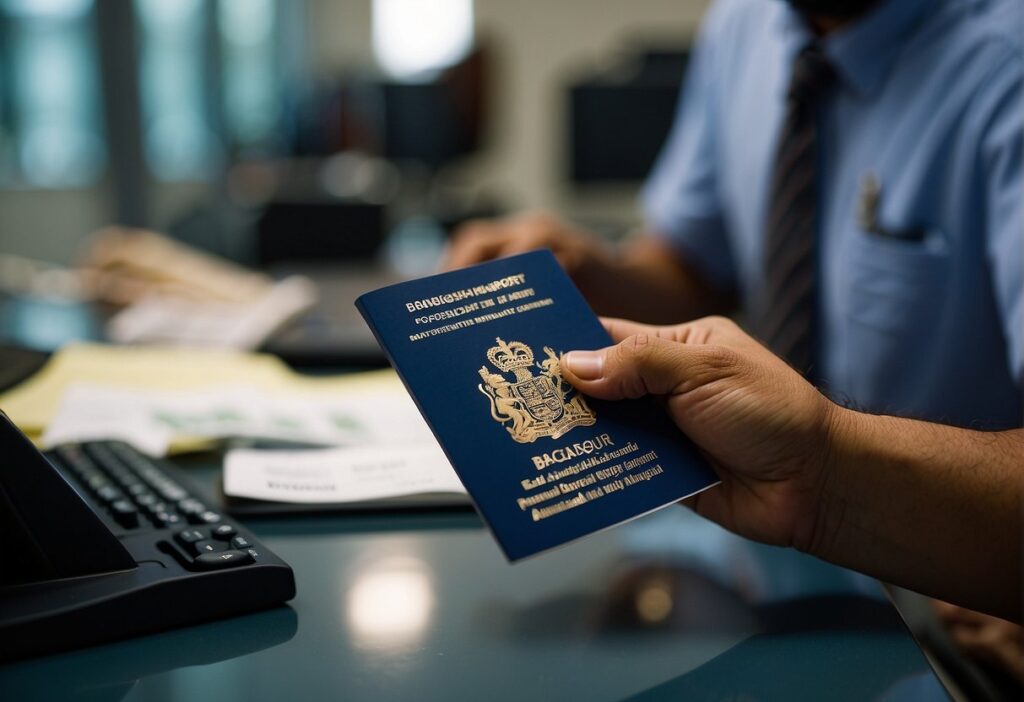
Breeze through passport control with Mobile Passport Control (MPC). This free app streamlines your entry process into the United States.
Download the MPC app on your smartphone before your trip. It’s available for both Apple and Android devices.
When you land, open the app and submit your passport information, photo, and customs declaration. This takes just a few minutes.
Follow the signs for Mobile Passport Control at the airport. You’ll typically find a dedicated, faster-moving line.
Present your phone with the MPC QR code to the CBP officer along with your physical passport. Answer any questions they may have.
MPC is available at select U.S. airports and cruise ports. Check the app or CBP website for a current list of participating locations.
Remember, MPC is different from Global Entry. It’s free and doesn’t require pre-approval, but you’ll need to submit your information for each trip.
For families, one person can submit information for the entire group through the app. This saves time when traveling with children.
Keep your phone charged and easily accessible. You’ll need to show your MPC receipt to the CBP officer.
Security

Arrive at the security checkpoint prepared. Remove your shoes, belt, and jacket before reaching the conveyor belt. Place these items in a bin alongside your phone, keys, and other metal objects.
Pack liquids in a clear, quart-sized bag. Ensure all containers are 3.4 ounces (100ml) or less. Keep this bag easily accessible in your carry-on luggage.
Separate your laptop and large electronics. Place them in individual bins for x-ray screening. This includes tablets, e-readers, and cameras.
Wear easily removable shoes and minimal jewelry. This speeds up the process and reduces stress. Consider slip-on shoes for quick removal and replacement.
Be ready to declare any special items. This includes medications, baby formula, or medical devices. Inform the security officer before screening begins.
Follow instructions promptly. Listen carefully to security personnel and comply with their requests. This helps maintain a smooth flow through the checkpoint.
Stay calm and patient. Remember, thorough security measures are for everyone’s safety. Take deep breaths if you feel anxious or rushed.
Consider enrolling in TSA PreCheck. This program offers expedited screening at many U.S. airports, potentially saving you time and reducing stress.
Insider Pro Tips

Book your flight for off-peak times like mid-week or early morning. You’ll encounter fewer crowds and shorter lines.
Dress strategically for security. Wear slip-on shoes and minimize metal accessories to breeze through checkpoints.
Set an alarm for 30 minutes before boarding. This reminds you to use the restroom and fill your water bottle before the flight.
Check in online and use self-check-in kiosks for luggage when available. These options are often faster than staffed counters.
Pack a portable charger in your carry-on. You’ll never worry about a dead phone battery while waiting at the gate.
Bring an empty water bottle through security. Fill it up at a fountain after passing through to stay hydrated without overpaying.
Download your airline’s app before arriving. It often provides real-time updates on gate changes and boarding times.
Consider TSA PreCheck or Global Entry. These programs can significantly reduce your time in security lines.